With EventBy, creating & hosting online events is as simple as could be. The user-friendly interface and exciting features of EventBy will help you to create online events with ease.
How To Create Online Events With EventBy? #
Creating an online event using EventBy is so simple. All you have to do is follow a few simple steps & you’ll be done.
Note: Before going step-by-step guide, make sure you have an account opened in EventBy as an organizer. To learn, follow this guide on how to create your EventBy account as an organizer.
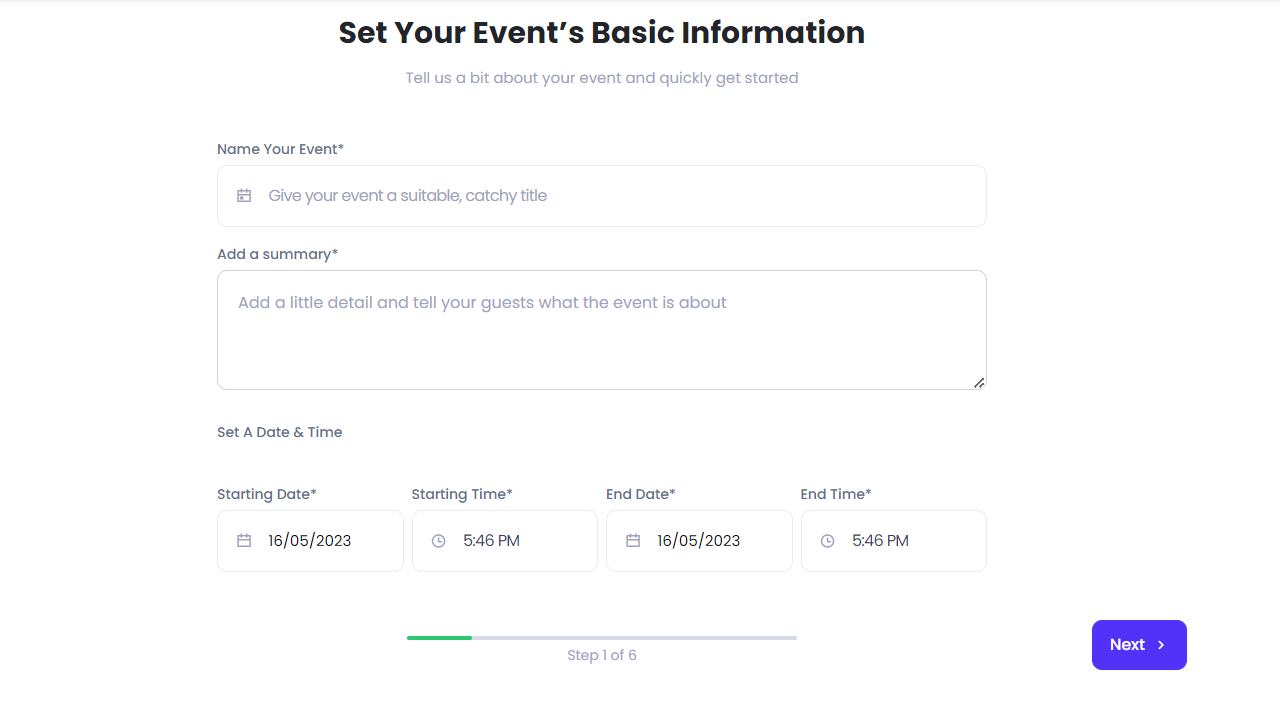
Step 1: Set Your Event’s Basic Information #
Go to the EventBy dashboard & click on ‘Create Event’ from the top right corner. You’ll be taken to a page where you can enter your basic details. Provide your event name, date, and a brief summary. Click ‘Next‘ to proceed to the next step.
Step 2: Create The Online Event Page #
As you wish you create an online event, choose the ‘Online Event’ option & pick the platform & paste the link by which you want to organize your online event. Nevertheless, select the type of your online event & set the number of guests you want to invite. Let’s go to the next step.
Step 3: Customize The Ticket Page [Free/Paid] #
You can create both Free & Paid online events using EventBy. If you want to go with free, simply select Free & click on Next. On the other hand, creating paid events requires some more steps to follow. Such as setting up the tickets, adding start & end dates, pricing, currency, etc.
Step 4: Add More Details To Your Event #
To make your online event page visually appealing, there are many other things that you can do with EventBy. In this step, you can insert a banner for your event, and a detailed description of your event. Plus, embedding videos or creating photo gallery options are also there.
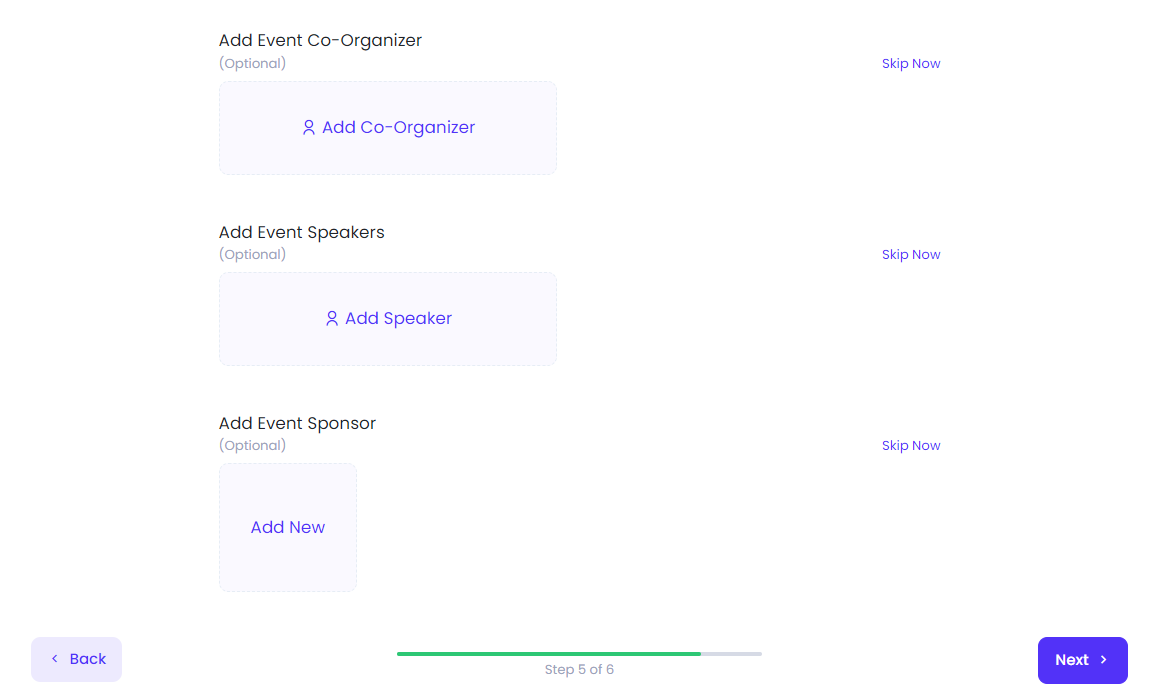
Step 5: Onboard Co-Organizers, Sponsors, Speakers & More #
Here comes another important step to creating an online event with EventBy. From this step, you can add co-organizers, sponsors, speakers & more. However, if you don’t have any of these onboard, you can skip this step for now as there is a chance of adding these afterward.
Step 6: Publish Your Event #
Once you are done with the required information & steps, it’s time to publish your online event. You can go with either ‘Publish Now’ or ‘Publish Later’. If you want to go with publish later option, set the scheduled publish date.
What if you want to see the preview of your online event before going live? Simply click on the ‘Preview Event’ option and you’ll get the whole preview of your online event.
That’s how you can easily create an online event with EventBy. All you have to do is follow the above easy & simple steps.
Getting stuck? Feel free to contact our support team for further assistance.


