With EventBy, you can easily create physical events as an organizer and allow interested people to join your event. Follow the step-by-step guideline to learn how to create a physical event with EventBy.
How To Create A Physical Event With EventBy? #
You can create in-person events, online events, or hybrid events with EventBy. In this tutorial, we are creating a physical event with EventBy. Follow the steps below to learn how to do this.
Step 1: Set The Basic Information Of The Event #
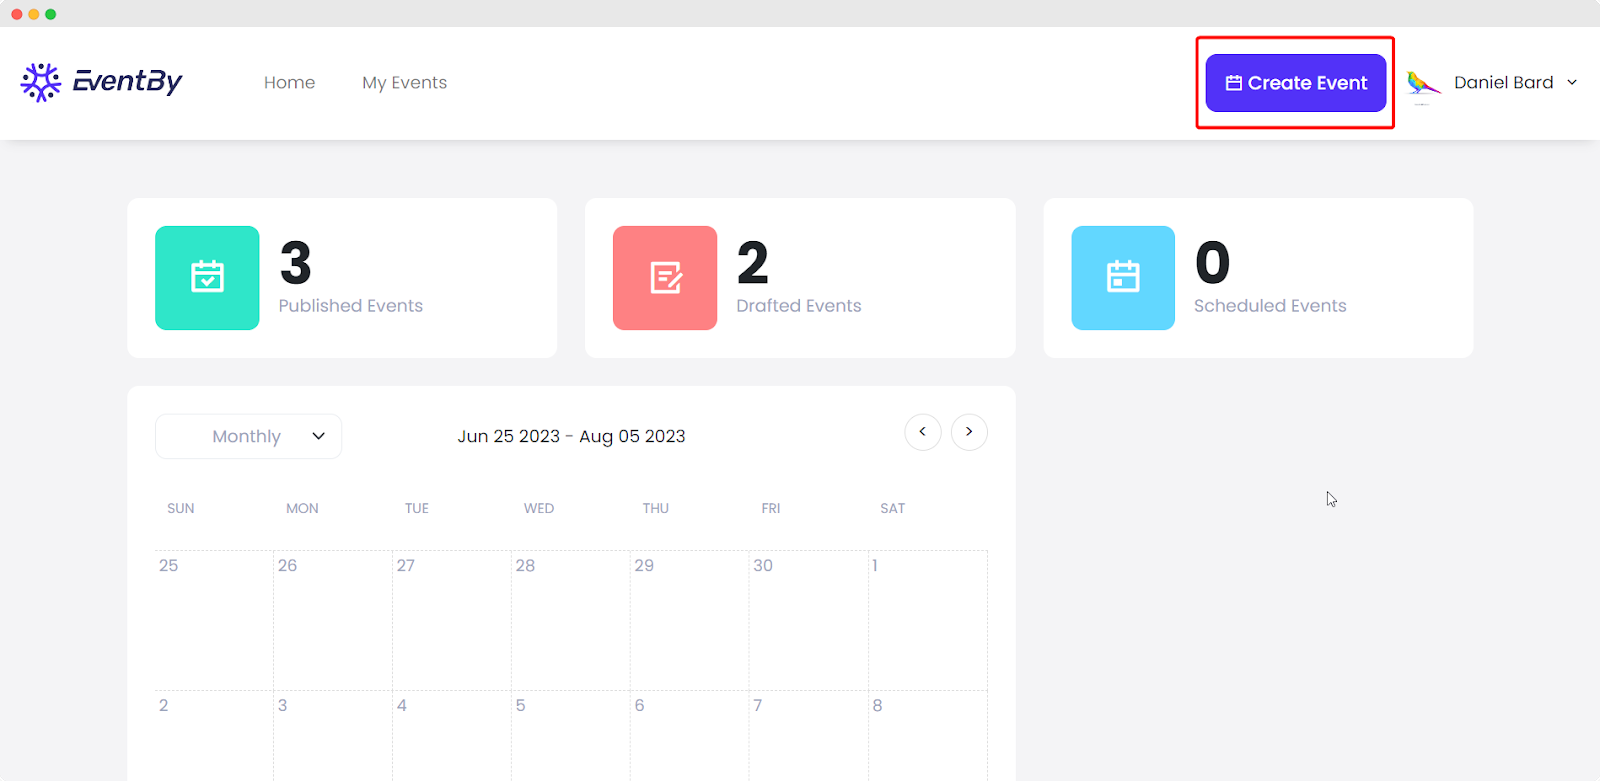
To create the event, you need to have an organizer account in EventBy. Log in to your account’s dashboard. Now, to create a physical event, click on the ‘Create Event’ button first.
Now, add the basic event information. Enter your event name and add a summary describing the event. Set the Starting Date & Time and also the Ending Date & Time of the event. Click on the ‘Next’ button.

Step 2: Create The Event Page #
In this step, select the type of event you are organizing. As you want to create a physical event, click on the ‘Choose A Venue’ option. Now add the location of the event in the ‘Set A Location‘ field. Insert the event address and choose the number of guests you want to invite. Move to the next phase now.
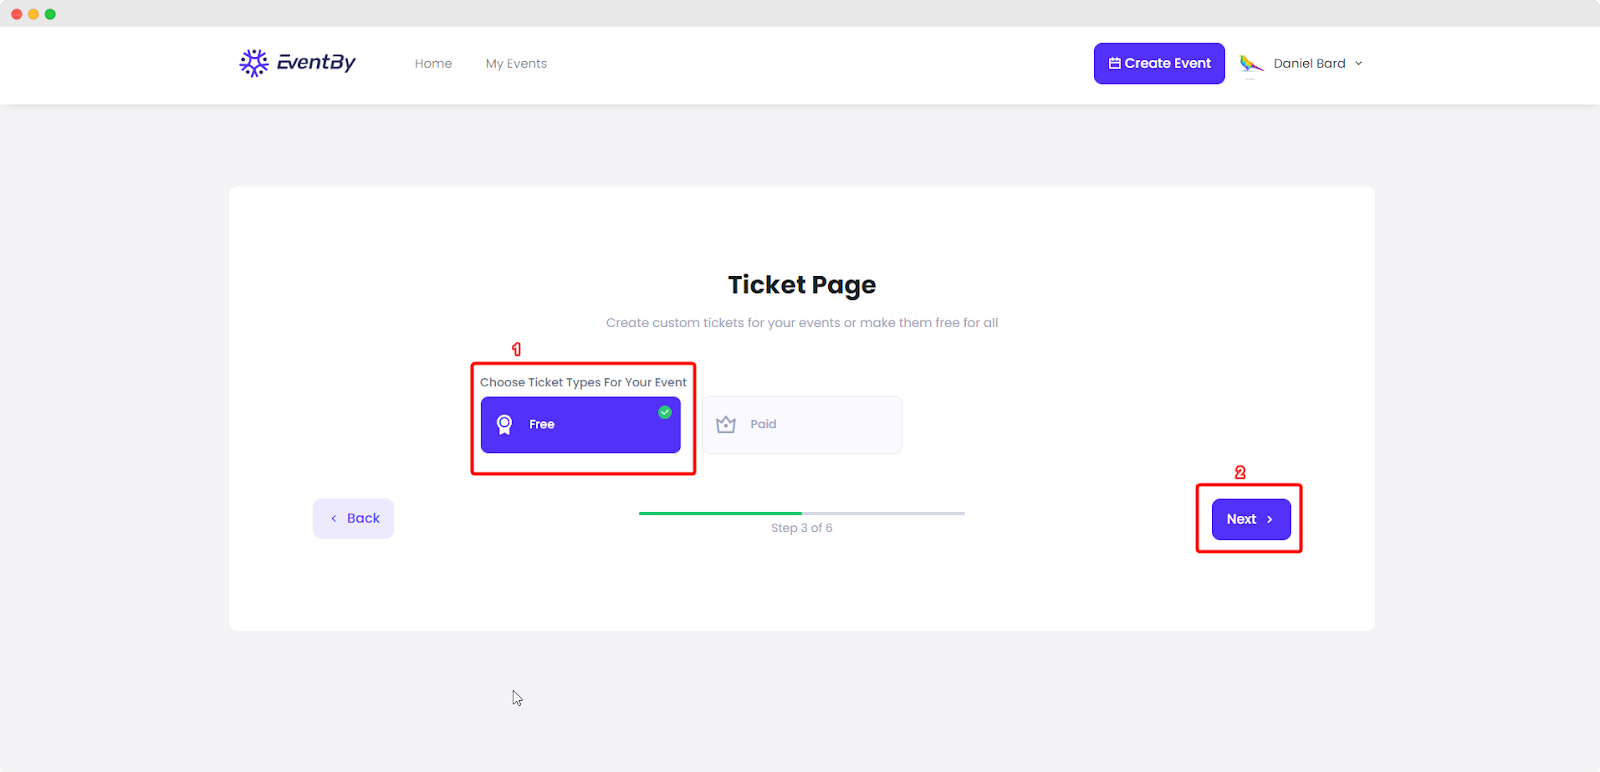
Step 3: Choose The Ticket Type For Your Event #
Once you finish step 2, you will be asked to choose your ticket type for the event. For a free event, select the ‘Free’ option and click ‘Next’.
Step 4: Add Other Details Of The Event #
Click on the banner image or press the ‘Add Banner’ button to add/change the banner image. Enter a detailed description of the event and add an image gallery or embed video if needed.
Step 5: Add Co-Organizers, Sponsors, And More #
This step requires you to add your event co-organizers, sponsors, speakers, etc as needed. It’s an optional step that can be skipped as well.
Step 6: Publish The Event Or Schedule It #
Now, it’s time to publish your event. Select ‘Publish Now’ and click on the ‘Finish’ button and your newly created event will be published.

You can schedule the event to publish later as well. If you want to schedule the event, follow this documentation.
Thus, following the simple steps, you can easily create a physical event with EventBy and invite guests in person.
Getting stuck? Feel free to contact our support team for further assistance.


